Installing fastlane
- make sure you have
fastlaneinstalled:fastlane --version
If fastlane is not installed you can do it use Homebrewopen in new window or Rubygemsopen in new window (with Ruby 2.0.0 or above):
- Homebrewopen in new window:
brew cask install fastlane - Rubygemsopen in new window:
sudo gem install fastlane -NV
1. Setting up fastlane globally
Navigate your terminal to your project's directory and run: fastlane init
You'll be asked for your Apple ID, and fastlane will automatically generate a fastlane configuration for you, based on the information provided.
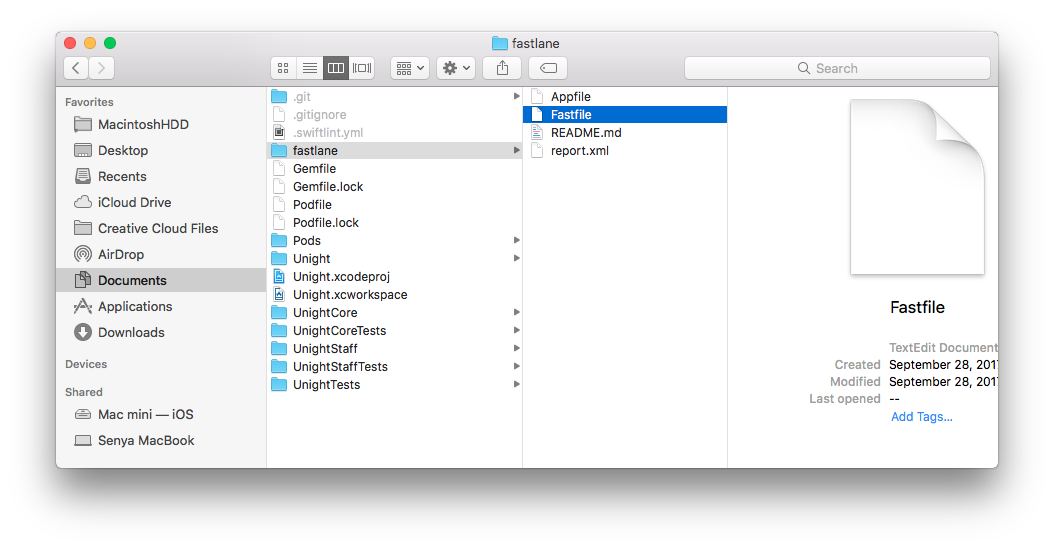
You can see the newly created fastlane directory.

The relevant files are:
Appfile, which stores the app identifier and your Apple ID.Fastfile, which manages the lanes you create to call certain actions.- It also can contain
Deliverfile. Which lets you add the required metadata when submitting your app to the App Store.
2. Setting up specific fastlane version using bundler (for project)
We use a Gemfile to define your dependency on fastlane. This will clearly define the used fastlane version, and its dependencies, and will also speed up using fastlane.
- Install bundleropen in new window using
gem install bundler - Create a
./Gemfilein the root directory of your project usingbundle initwith the content:
source "https://rubygems.org"

gem "fastlane"
gem "xcode-install"
gem "cocoapods", '1.4.0.beta3'
1
2
3
4
5
2
3
4
5
- You can declare the gems that you need, including version numbers. Specify versions using the same syntaxopen in new window that RubyGems supports for dependencies.
- Run
bundle updateand add both the./Gemfileand the./Gemfile.lockto version control - Every time you run
fastlane, usebundle exec fastlane [lane] - On your CI(Jenkins), add
bundle installfor setup current gems from./Gemfile.lock - To update
fastlane, just runbundle update
